.png)

This is my sourdough recipe
There are sooooooooo many recipes and ways to make sourdough. This is the one that seems to work the best for the humidity level in my house.
Remember, it takes over 48 hours from start to finish.

The Night Before
The night before you want to start the process of making bread, feed your starter.
I use 100 grams starter, 100 grams water, 100 grams unbleached flour.
The First Morning
In a bowl, combine 75 grams starter with 300 grams of water, mixing thoroughly.
Add in 500 grams of water and 10 grams of salt.
Stir until shaggy. Let sit for one hour.
I use a Danish dough whisk and it is awesome!

Stretch and Folds
Now we develop the gluten in the bread. Stretch and fold the bread by reaching in, grabbing a bit of dough with your fingertips and shaking it while pulling it up and over the bread then turning the bowl. I do between 12 and 20 stretches. You will know it is stretched enough because the dough will tighten into a solid ball.
Do this every 20 minutes until you've stretched/folded it 4 times.
Bulk Fermentation
Now we let the sourdough do its thing. Sometimes I get lazy and shape the dough into its bannetons before I bulk ferment, sometimes I do it the correct way. Either way, I've always gotten amazing bread.
If you shape now, shape the dough into a tight ball and place in a floured (use gluten free flour or it WILL stick like crazy!) container and top with a shower cap. Let sit for at least 2 hours, or until doubled and puffy. Place in the fridge overnight.
If you want to do it "correctly" you will leave the dough in the bowl and cover it with plastic wrap for 1-4 hours until doubled.

If you are using the "correct"" method, after letting it rise in the bowl for about 2 hours, you will need to shape it and place it in the banneton.
To do this, turn your risen dough out onto a lightly floured surface and push/pull it until it forms a tight ball.
Place it in a well coated banneton, top with a shower cap and let rise for about 2 more hours or until big and fluffy, then pop it in the fridge overnight.
Baking Day! Finally!

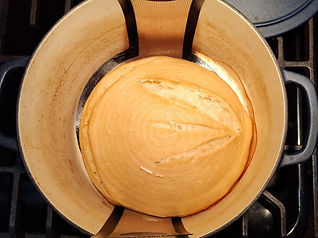
On baking day, you will take your dough out of the fridge, place your Dutch oven in the oven, and preheat your oven to 450°F.
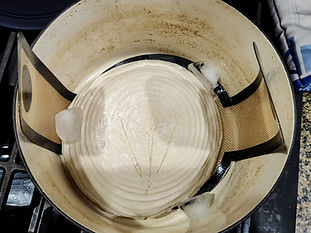
Once preheated, turn dough out onto dough sling or parchment. Score so it doesn't explode. Place in Dutch oven with 2-6 ice cubes. Put lid back on. Bake 45 minutes with lid on.
Take lid off, drop temp to 400°F and bake 20 more minutes.
Remove the bread from the oven and cool completely on a cooling rack.
The bread actually finishes cooking while cooling, so it is super important not to cut it early or it will not be the right texture.
To store, wrap tightly in foil multiple times.
To freeze, first wrap tightly in plastic wrap, then tightly in foil. And freeze for up to 3 months.